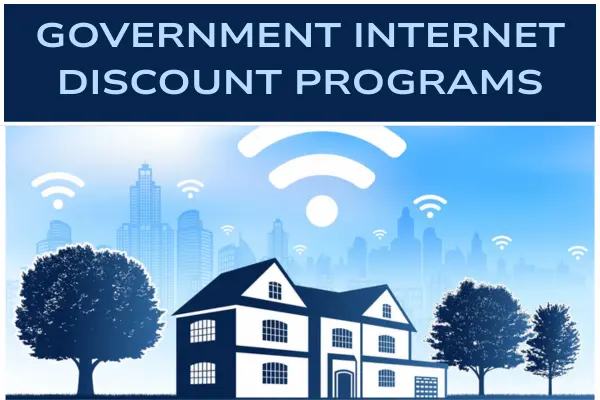
Learn how to apply for government internet discounts, check eligibility, submit documents, and enroll with a Lifeline provider.
Government internet discount programs: what they really mean today
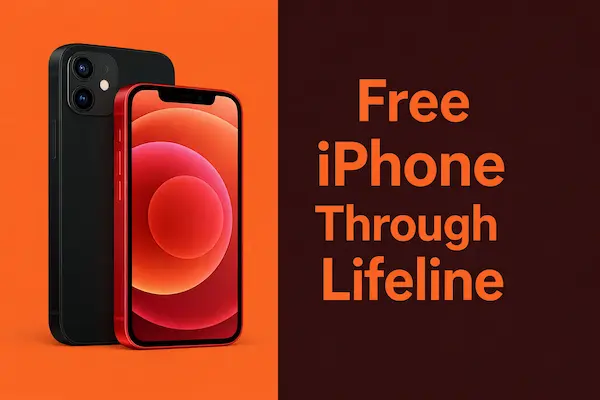
Right now, the main federal option most people mean by “government internet” is Lifeline.
Lifeline is designed to lower your monthly cost for phone service, internet service, or a bundle, depending on what your participating provider offers.
You can receive up to $9.25 per month in support in most areas.
If you live on qualifying Tribal lands, the support can be up to $34.25 per month.
Since the Affordable Connectivity Program (ACP) ended due to a lack of additional funding, many households now look to Lifeline as the primary ongoing federal discount option.
That’s why knowing how to apply correctly matters, because the process is specific and document-driven.
Important notice: This guide is independent and informational only.
We are not affiliated with the FCC, USAC, Lifeline, internet providers, or any government agency.
We also do not control approvals, program rules, or provider availability in your area.
Government internet eligibility: how to know if you qualify
You typically qualify for government internet discounts through Lifeline in one of two ways: income-based eligibility or program-based eligibility.
If you match either path, you may be able to apply and get approved through the official eligibility system.
Income-based eligibility
You may qualify if your household income is at or below 135% of the Federal Poverty Guidelines.
This is one of the most common routes, especially if you recently lost work, changed jobs, or your household size changed.
In practice, the key is proving your income using acceptable documents, and making sure the names and addresses match your application.
Program-based eligibility
You may qualify automatically if you or someone in your household participates in an eligible assistance program.
Common examples include:
- SNAP (Food Stamps).
- Medicaid.
- Supplemental Security Income (SSI).
- Federal Public Housing Assistance (FPHA).
- Veterans Pension and Survivors Benefit.
- Qualifying Tribal programs for eligible residents on Tribal lands.
If you qualify through a program, your proof is usually a benefits letter, approval notice, or official document showing current participation.
When in doubt, you want to focus on documents that clearly show your name, the program name, and a current date.
Government internet documents: what you should prepare before applying
If you prepare your documents first, your application can move much faster, and you reduce the chance of being asked to “prove eligibility” again later.
Think of this step as removing friction, because the most common delays happen when uploads are unreadable, incomplete, or don’t match the application details.
Here’s what you typically need.
- Proof of identity, such as a government-issued ID, passport, or other approved identification.
- Proof of eligibility, either income documents or a benefits/award letter, depending on how you qualify.
- Your Social Security Number or, in many cases, the last four digits, depending on what the application requests.
Before you upload or copy anything, check one detail people overlook all the time.
Your name and address should match across your application and your documents.
If you recently moved, changed your name, or use a nickname on one document, that mismatch can trigger extra verification steps.
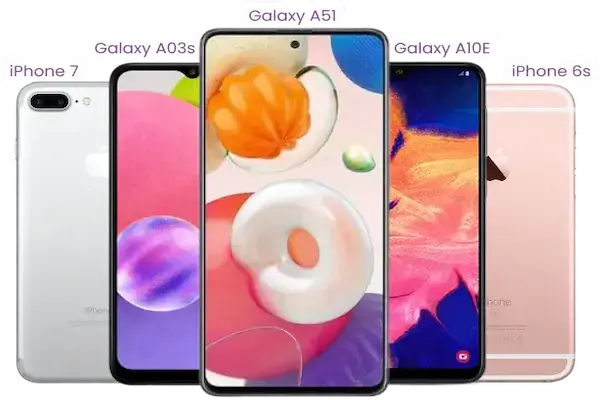
How to apply for government internet: the 3 official methods
You can apply for government internet discounts through the Lifeline “National Verifier” system in three main ways: online, by mail, or through a participating provider.
Each method can work well, so choose the one that fits your situation and your access to reliable internet right now.
| Method | How to do it | Best for |
|---|---|---|
| Online | Use the official Lifeline application website (LifelineSupport.org) and follow the prompts to apply. | Fastest results, often the quickest path if you can upload documents clearly. |
| By Mail | Print the application and mail it with copies of your documentation to:
Lifeline Support Center, PO Box 1000, Horseheads, NY 14845 |
Best if you prefer paper, have limited internet access, or need extra time to gather documents. |
| Through a Provider | Contact a phone or internet company that participates in Lifeline and ask them to help you apply. | Best if you want a one-stop setup and help choosing a plan immediately after approval. |
One detail that surprises people is that applying is only part of the journey.
Even after you’re approved, you still need to enroll the benefit with a participating company that offers Lifeline-supported service where you live.
Special note about California, Oregon, and Texas
If you live in California, Oregon, or Texas, the application process can be different because these states use their own eligibility processes rather than the standard National Verifier flow.
In that case, you’ll want to follow your state’s Lifeline instructions or ask a participating provider in your area how to submit using the correct state process.
This is completely normal, and it doesn’t mean you’re ineligible, it just means the “where you apply” step changes.
Government internet step-by-step: the smoothest way to apply online
If you want the most streamlined path, online is usually the simplest method, as long as your documents are ready.
Here’s a practical step-by-step flow that helps you avoid common mistakes.
- Confirm your personal details before you start, including your legal name, date of birth, and current address.
- Choose how you qualify, either by income or by program participation.
- Upload clear documents that are readable, complete, and show the required details.
- Double-check matches between your form and documents, especially spelling, apartment numbers, and hyphens.
- Submit and save confirmation, including any application ID or status page details you receive.
If your application is not instantly approved, don’t panic.
That usually means the system needs additional confirmation, or you need to provide proof documents in a more complete format.
When you resubmit with cleaner documents, many “pending” applications move forward quickly.
After approval: how to actually get the discount on your bill
Approval does not automatically change your internet bill, because the discount must be applied by a participating provider.
Think of it as a two-step system, where approval confirms eligibility and enrollment connects that eligibility to a specific service plan.
Once you’re approved, your next move is to contact a participating phone or internet company and tell them you have Lifeline eligibility.
They will guide you through enrolling your benefit onto an eligible plan, which is when you’ll see the discount applied to your monthly charges.
If you already have internet service, you can ask your current provider whether they participate in Lifeline, and if they can apply it to your account.
If they don’t participate, you may need to switch to a provider that does, depending on availability in your area.
Government internet discounts: common mistakes that slow you down
Most denials and delays aren’t because you don’t qualify, but because your application details don’t match your documents closely enough.
That’s annoying, but it’s also fixable, especially when you know what to watch for.
- Using a nickname on the application when your documents show your legal name.
- Uploading blurry photos where dates or program names can’t be read.
- Sending incomplete pages of a benefits letter instead of the full page showing required details.
- Address mismatches, like missing apartment numbers or using an old address on your proof.
- Assuming enrollment is automatic and not contacting a participating provider after approval.
If you hit a snag, your best move is to correct the mismatch and resubmit, rather than starting over from scratch.
In many cases, the system is simply asking for better proof, not permanently rejecting you.
Government internet for low income: how to spot outdated offers
You’ll still see online ads claiming you can get a big monthly “government internet” discount, but some of those promotions are outdated or misleading.
A major reason is that ACP ended, and some websites never updated their messaging after the program stopped.
So here’s a simple filter you can use to protect yourself.
If a site promises a discount amount that doesn’t match current Lifeline support, or asks for money to “guarantee” approval, treat it as a red flag.
The safest approach is to use official Lifeline resources and then enroll with a participating provider you recognize in your area.
Quick safety tip: You should never have to pay a third party to “unlock” Lifeline eligibility or guarantee approval.
Final checklist to apply for government internet with confidence
If you want to feel calm and confident before you hit submit, run through this quick checklist.
- You know whether you qualify by income or by program participation.
- Your identity document is current and readable.
- Eligibility proof clearly shows name, program or income details, and relevant dates.
- Application details match your documents exactly, including address formatting.
- You have a plan to enroll with a participating provider after approval.
Once you take those steps, the process becomes much less stressful, because you’re not guessing your way through it.
And you’ll be in a much better position to turn that approval into a real monthly discount you can actually see on your bill.